In the world of Cloud, we have been introduced to the word ‘Serverless”. A Serverless Architecture allows an application to run and perform tasks through code, without the actual need of a Server as we know it.
Such a service can save costs and deployment time, makes management and maintenance much easier and faster, offering great scalability and availability and take our development procedures to a whole new stage. As we read from Microsoft Documentation, Azure Static Web Apps is a service that automatically builds and deploys full stack web apps to Azure from a code repository.
For an Azure Static Web App deployment besides our code, we need an Azure Subscription and GitHub or Azure Devops to start building! In this workshop we will deploy a simple HTML site with the use of Azure Static Web Apps and GitHub, assign our custom domain and walk through the configuration options of a Static Web App.
What we need:
- Azure Subscription
- Git Hub Account and a Repository
- Viual Studio Code (or your favorite source code editor) with the following extensions installed:
Azure Account, Azure Static Web Apps, Azure Resources or Azure Tools
Also Git Extensions or Git Hub Desktop installed on our computer.
Preparation
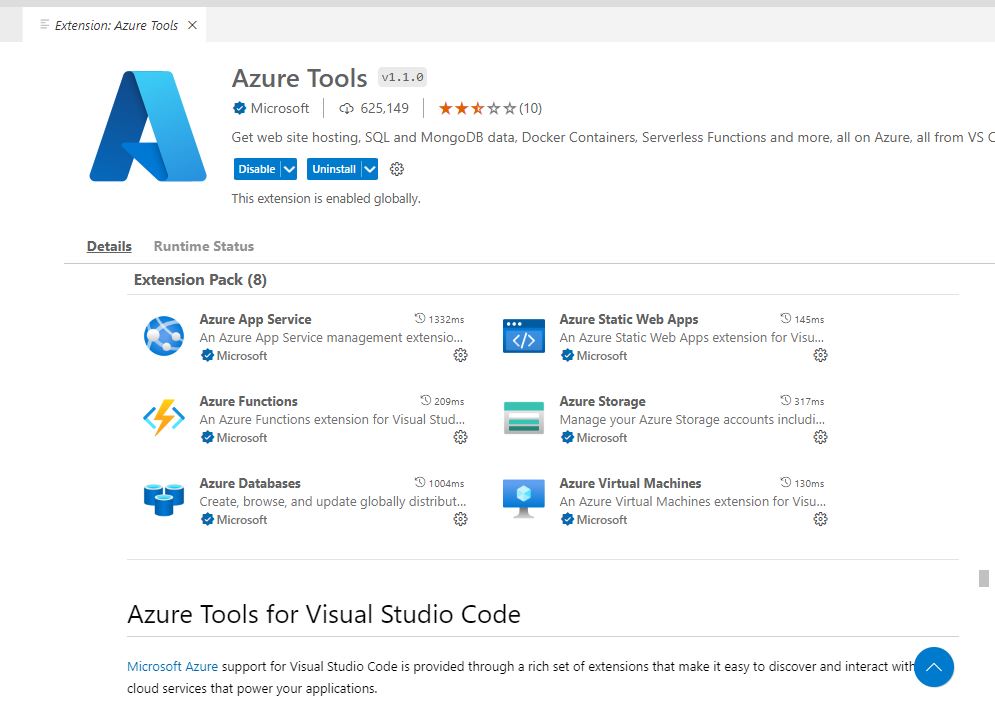
Install the Azure Tools Extension which includes Azure Static Web Apps:
Once you are ready start by adding a new empty repo to Git Hub, and clone it directly from VS Code.
Open VS Code and from the Source Control select to Clone the Repo we have created earlier on GitHub:
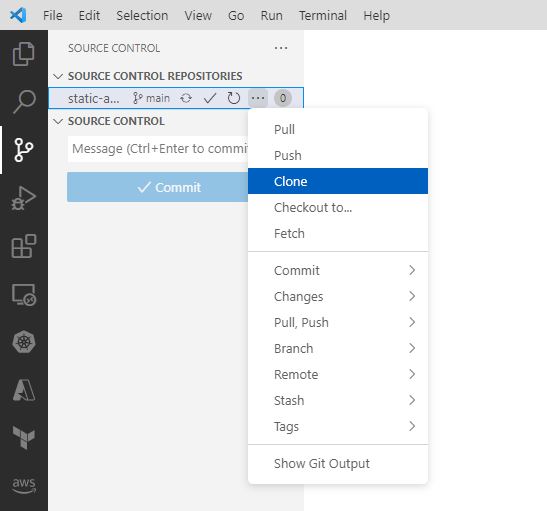
Once you select clone the “Clone from GitHub” Selection will appear in the Command Line, and by clicking it all your Repos will be listed. Select the one we created.
Now lets create a Static Web App!
Deployment
From the Azure icon on VS Code (Azure Account extension) we can see the Static Apps Selection:
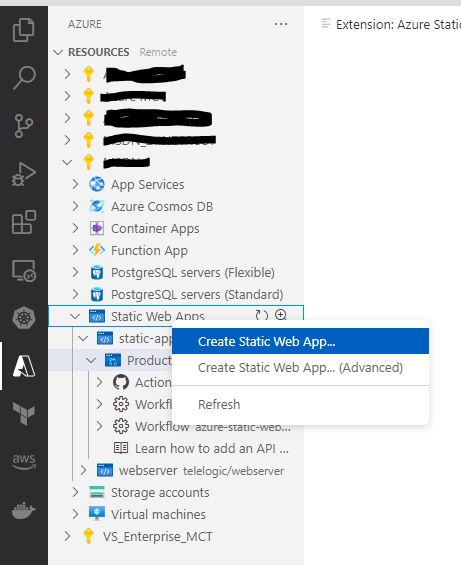
Go on and create the App by selecting the Advanced option. Enter your values, select Resource Group, name of the Static app, the Free tier for Static Apps, the region, select Custom for the Framework, leave / for the location of the Static App, delete the api and delete the build settings on the 7th and 8th step, and the final Enter will start creating the App, where we can see in Azure Portal in a short time.
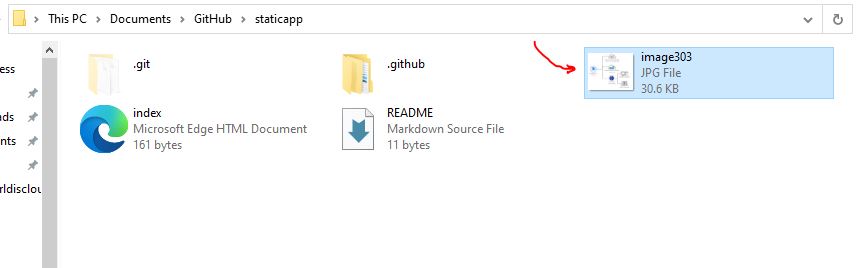
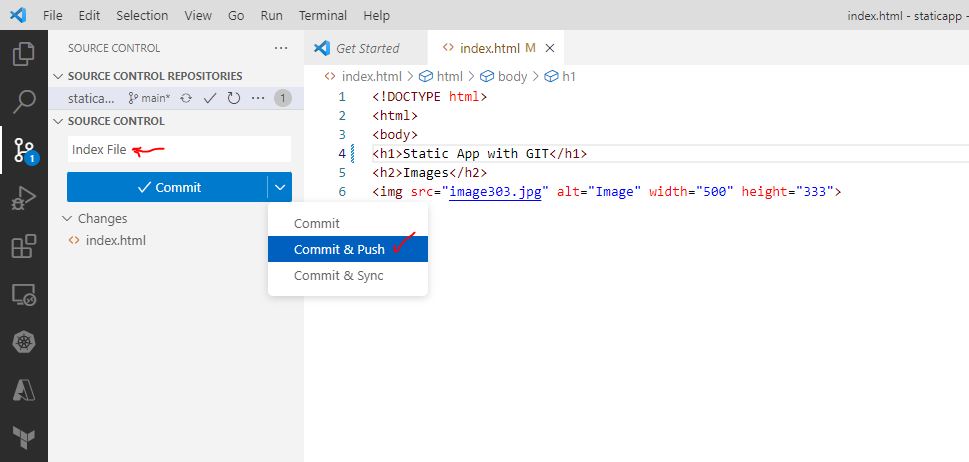
It is time to add content to our App and deploy! Let’s start by creating a simple index.html file and copy an image to the folder of our local repo, where we will commit & push and pull, to activate the Git Hub Actions Workflow. Remember always Save your files first!
Sample index.html :
<!DOCTYPE html>
<html>
<body>
<h1>Static App with GIT Actions</h1>
<h2>Images</h2>
<img src="image303.jpg" alt="Image" width="500" height="333">

</body>
</html>
Also add an image to the local cloned Repo with the file name you declare in the HTML.
Save changes and select Commit & Push and type a message to mark your specific action, here we wrote “Index File” to mark the creation step of the file.
Immediately we will select Pull for Git Hub Actions to start the Static App Workflow and deploy to Azure the new state.
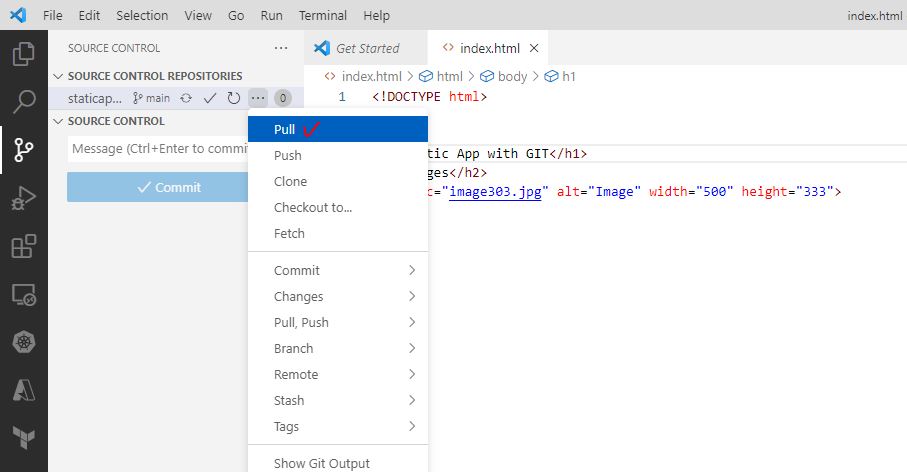
Once we select pull and go to the Azure Static App, we will see the Commits so far with the messages ( Here we had written Set1 & Set2) , and the Actions that deployed the code to Azure.
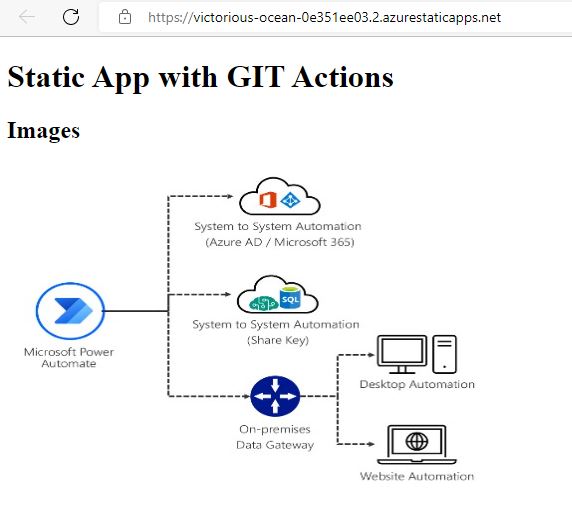
Select browse and there you have your Static App :

We can add more content with files and folders, for a proper HTML site as well as add our custom domain directly from Azure Portal.
Custom Domain
From Azure Management Portal select the Static App you just created and you will see the Custom Domain setting. It is a straightforward procedure where you can add a TXT or a CNAME record on your Custom DNS or Azure DNS zone.

Usually the validation will take some minutes, and you can verify the URL when it completes successfully.
More Content
This example is very simple, but even a static HTML site will have some additional directories, links and images. Azure Static Web Apps offers a great number of Configuration options and once you start playing around you will see why it is a great option to host your Websites!
The Configuration we must deploy is based on a simple file, so return to VS Code and add the staticwebapp.config.json file to your deployment directory, in this case the root of the Repo.
This file controls:
- Routing
- Authentication
- Authorization
- Fallback rules
- HTTP response overrides
- Global HTTP header definitions
- Custom MIME types
- Networking
Let’s try to add a folder on our Repo, named static with an index.html. We will see that whatever we type in the URL we get an error back. We must define routing in the file we just added in order to display additional paths, so since it is a json file we add the following code :
{
  "routes": [
    {
      "route": "/static*",
      "rewrite": "/static/index.html"

    }
  ],
    "navigationFallback": {
      "rewrite": "/index.html"
    }
}
The file defines the newly added folder-path, and when a request is made to the folder, the index.html is displayed in our browser (rewrite). Also on any wrong url, or non existed path we are shown the main index.html file in the first page of our Site!
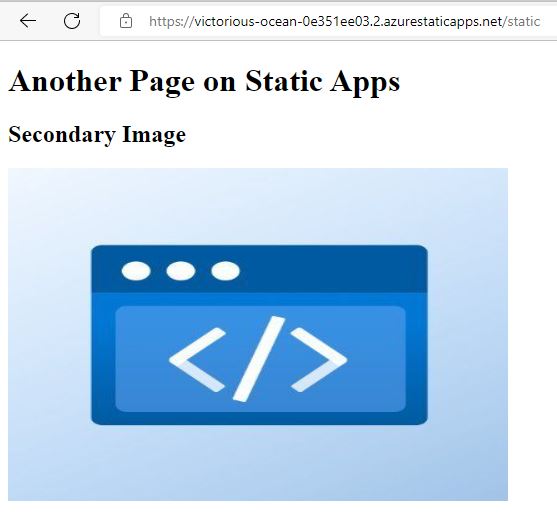
Go ahead and add a simple html under the static folder, named index.html and an image to the root folder:
<!DOCTYPE html>
<html>
<body>

<h1>Another Page</h1>
<img src="apps.jpg" alt="Image2" width="500" height="333">
</body>
</html>
Commit & push , sync changes and Pull for the Actions to engage and our Site now has starting to build up!
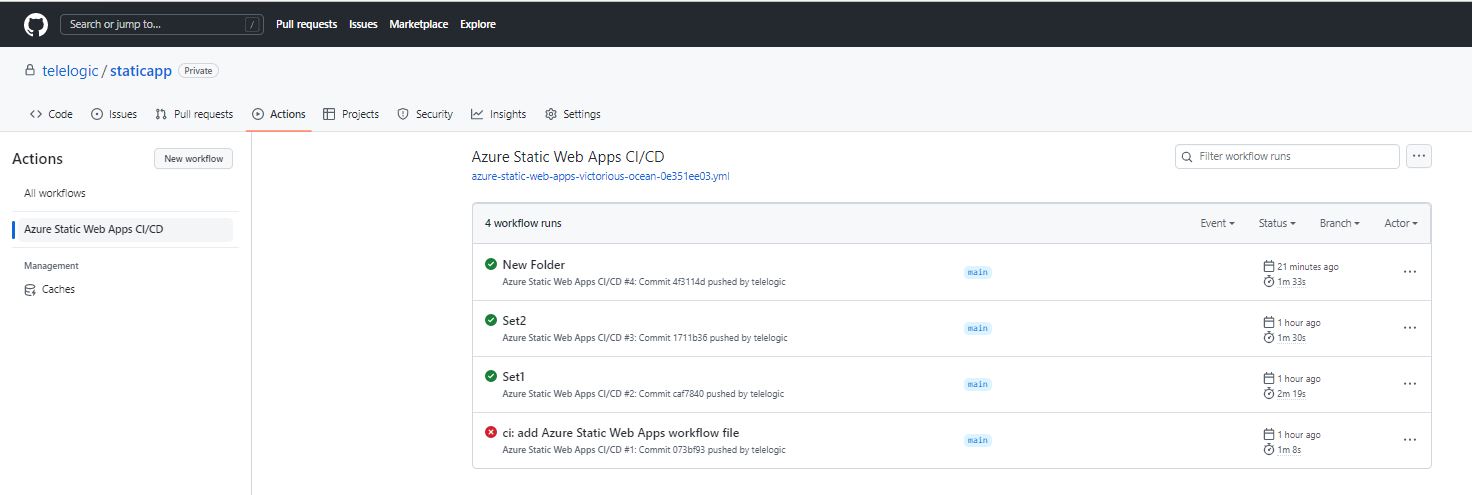
Similar routes can be addedd to the staticwebapp.config.json file as well as additional parameters to enrich the Static Web App. You may also watch the Git Actions while the Static Web App is build and review the Workflows; just go to Git Hub and select Actions on your Repo:
We will return with the Azure Front Door integration so we can deploy our own certificate, and enhance the security of our Static Web App, and also add an API to make the most out of a simple Web Site!
References, Links:
- What is Azure Static Web Apps? | Microsoft Learn
- Quickstart: Building your first static site with the Azure Static Web Apps | Microsoft Learn
- Configure Azure Static Web Apps | Microsoft Learn
- Add an API to Azure Static Web Apps with Azure Functions | Microsoft Learn