The Defender family of products have added great capabilities regarding Security, while Power Automate has a number of connectors to integrate with other Services and take automation to the next level!
We are going to use Power Automate with a connector to Defender for Advanced Hunting, write a simple KQL query and get the notifications once every hour with a flow.
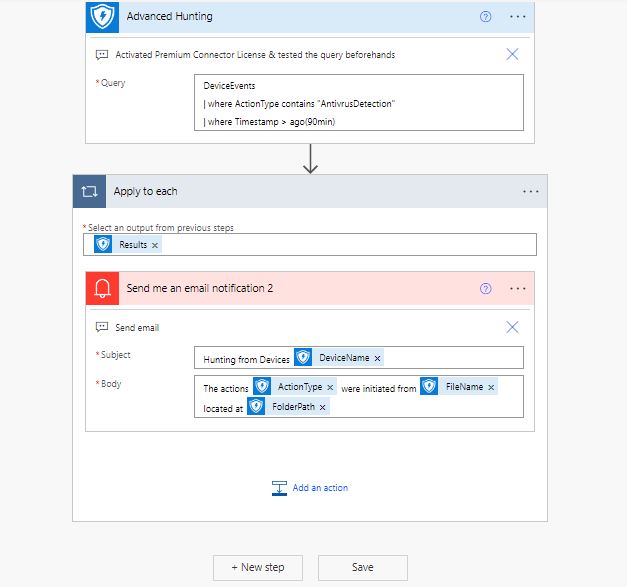
The query will check Devices-Endpoints for recent Defender Antivirus activity, and the notification will contain the Device name on the Subject, the Action and the process that fired the action in the body of the email. So lets get into it!
The Defender Advanced Hunting connector requires Premium license for Power Automate so you can get a 90 days trial for your Tenant.
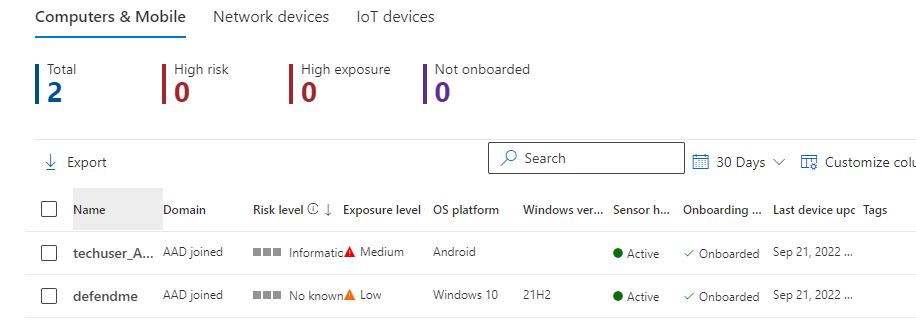
Our scenario assumes we have already Onboard a Windows VM on Defender and we can see the device listed on the Security portal of Office 365.

We can use the Home – Microsoft Defender Testground for downloading “fake” viruses and malware and all that goodies, it is a great tool to make your hunting taste real! Of course there are others but i prefer to stick with anything Microsoft has to offer. The site requires login for some scenarios and there are various tools to select along with the instructions to make it happen, from ASR to Malicious URL and others. Our example is in the Controlled Folder Access, where a supposed ransomware file is available to download.
Now it is time to go hunting! The KQL query is quite simple, but anyone can make it more informational depending the case. We are looking for a script with minimum code so we can have his info quickly and in recurring time frames to our email. The syntax reference and the Schema are thoroughly documented and the schema can also be found, detailed in the Defender portal.
DeviceEvents
| where ActionType contains "Antivirus"
| where Timestamp > ago(30min)
Try this on the Defender Portal (security.microsoft.com) -Hunting-Advanced Hunting and examine the results. The Results are what we are going to extract with our Flow and some of the Columns will be used as the information. It is time to open Power Automate!
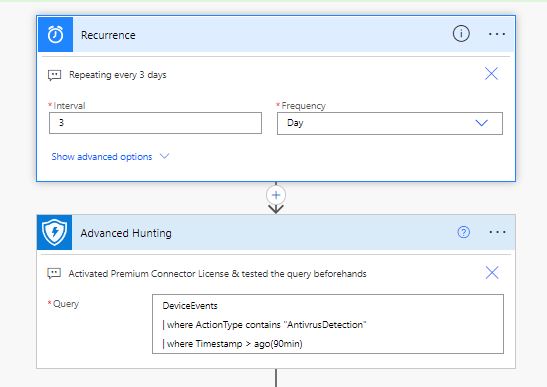
Open Power Automate from the Office 365 portal and create a new Cloud Flow, skip any starting info and as the first step add a Recurrence Schedule for the trigger. Next step, type in the steps box Defender, and all the available actions for Defender will appear. Notice that the Advanced hunting is a Premium connector which you will activate with a trial.

Lastly we are going to add a step ‘Apply to each’ which controls the flow, to send for each Result the email notification. The information could be huge, and this is an example, but in a real case with probably thousands of devices we would like to get info only on critical devices, or specific file locations etc. The Flow will look now like this:

Our flow is final ! On the upper right corner we can run the Flow checker, or initiate a manual Run to see how it looks, or make improvements , add or remove fields or even add extra steps. Our email looks like this:

The integration between different Microsoft product and platforms has been always a great need. Also more than ever we need Security to be able to inform and automate actions, at any time, and because not every company has the resources to deploy a SOC, this example is a quick solution for some immediate notifications from Defender and can very easily expand to fulfill greater needs, create approval workflows and so on!
References, helpful links:
- Getting started with Power Automate
- Microsoft Defender Advanced Hunting – Overview
- KQL-Advanced Hunting Language

